To add Brand Asset Categories in Box, follow these steps:
Create a Folder for the Brand Asset Category:
- Create a new folder at the root level (“All Files”).
-
Tag the folder with the following tags:
-
Required:
CIH_BCT_<CATEGORY TYPE>— Tags the folder as a brand category of the specified type.
Available category types are:-
images -
colors
-
-
-
-
Optional:
CIH_BCN_<CATEGORY NAME>— If present, this tag defines the category name; otherwise, the folder name is used as the category name.
-
-
Place all the assets you want to use for this category inside the folder.
The folder name (or the value from theCIH_BCN_tag) will become the asset category, and the assets within it will belong to that category.
⚠️ Important: Tags are case-sensitive. Once a tag is created with a specific capitalization, that capitalization is preserved for all future tags with the same spelling. To change the capitalization of an existing tag, you should first remove that tag from all folders, then recreate it using the desired case.

Create a Folder for Brand Colors Categories:
-
Create a new folder at the root level (“All Files”).
-
Tag the folder with the following tags:
-
Required:
CIH_BCT_colors— Tags the folder as a brand category of type “colors”. -
Optional:
CIH_BCN_<CATEGORY NAME>— If present, it’s used as the color category name; otherwise, the folder name is used.
-
-
Inside this folder, add files with the extension
.cihubcolor.
These files should contain objects following this structure:
{
    "id": "897428381201",
    "name": "Sky Blue",
    "colorDescription": "lorem ipsum",
    "hexValue": "#87CEEB",
    "rgbValue": {
      "red": 135,
      "green": 206,
      "blue": 235
    },
    "pantone": "279 C",
    "cmyk": {
      "cyan": 44,
      "magenta": 12,
      "yellow": 0,
      "black": 8
    }
}
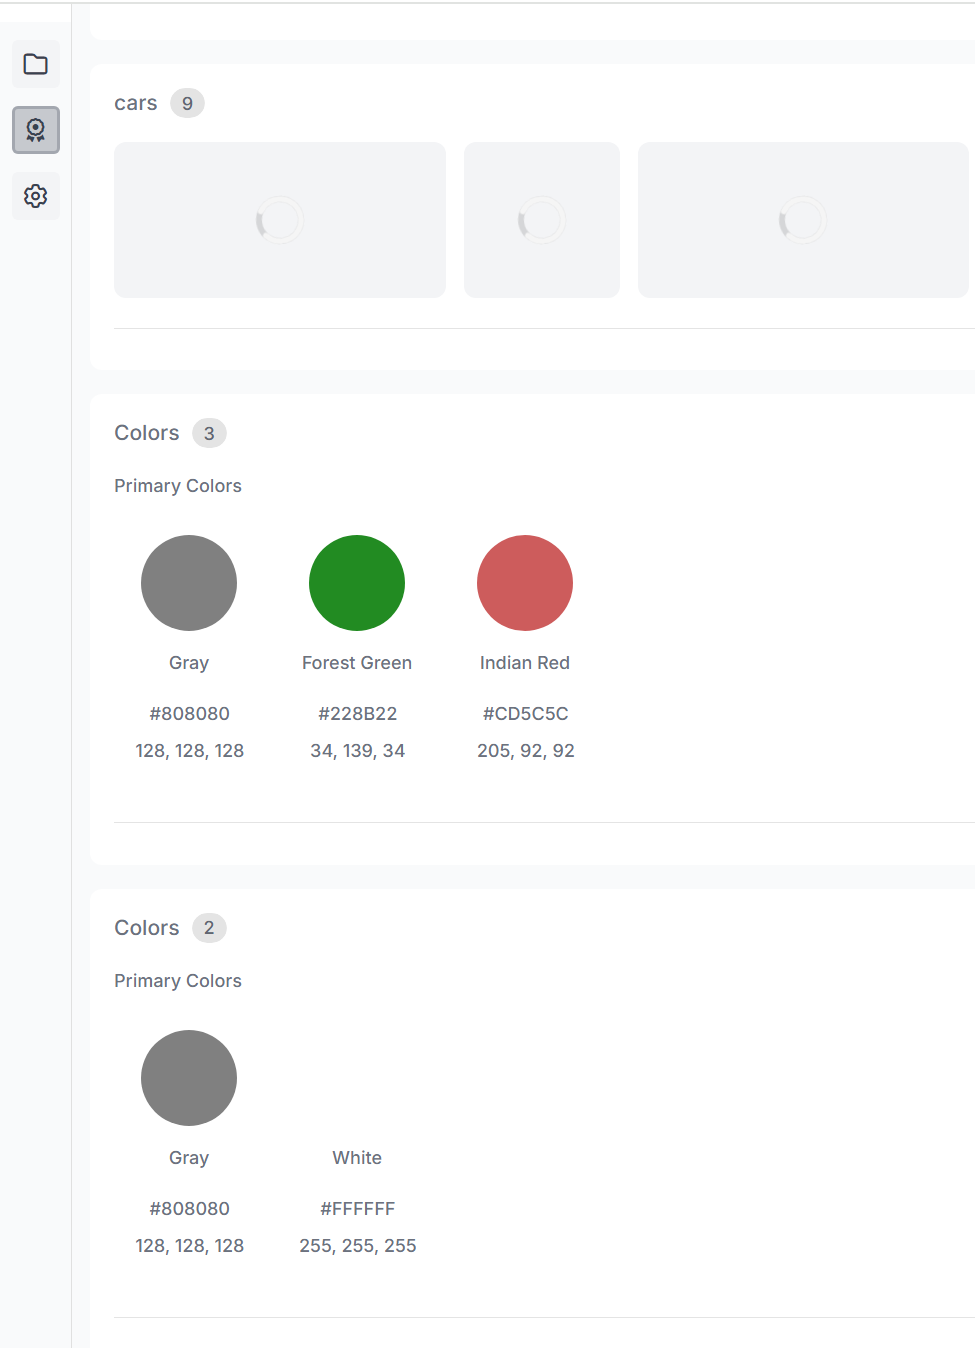
And this is how it’s going to look in the panel: