To add Brand Asset Categories in Sharepoint, follow these steps:
Create a Folder for the Brand Asset Category:
-
Create a new folder.
-
Tag the folder with the following tags:
-
Required:
CIH_BCT_<CATEGORY TYPE>— Tags the folder as a brand category of the specified type.
Available category types are:-
images -
colors
-
-
Optional:
CIH_BCN_<CATEGORY NAME>— If present, this tag defines the category name; otherwise, the folder name is used as the category name.
-
-
Place all the assets you want to use for this category inside the folder.
The folder name (or the value from theCIH_BCN_tag) will become the asset category, and the assets within it will belong to that category.
Create a Folder for Brand Colors Categories:
-
Create a new folder.
-
Tag the folder with the following tags:
-
Required:
CIH_BCT_colors— Tags the folder as a brand category of type “colors”. -
Optional:
CIH_BCN_<CATEGORY NAME>— If present, it’s used as the color category name; otherwise, the folder name is used.
-
-
Inside this folder, add files with the extension
.cihubcolor.
These files should contain objects following this structure:{
"id": "897428381201",
"name": "Sky Blue",
"colorDescription": "lorem ipsum",
"hexValue": "#87CEEB",
"rgbValue": {
"red": 135,
"green": 206,
"blue": 235
},
"pantone": "279 C",
"cmyk": {
"cyan": 44,
"magenta": 12,
"yellow": 0,
"black": 8
}
}
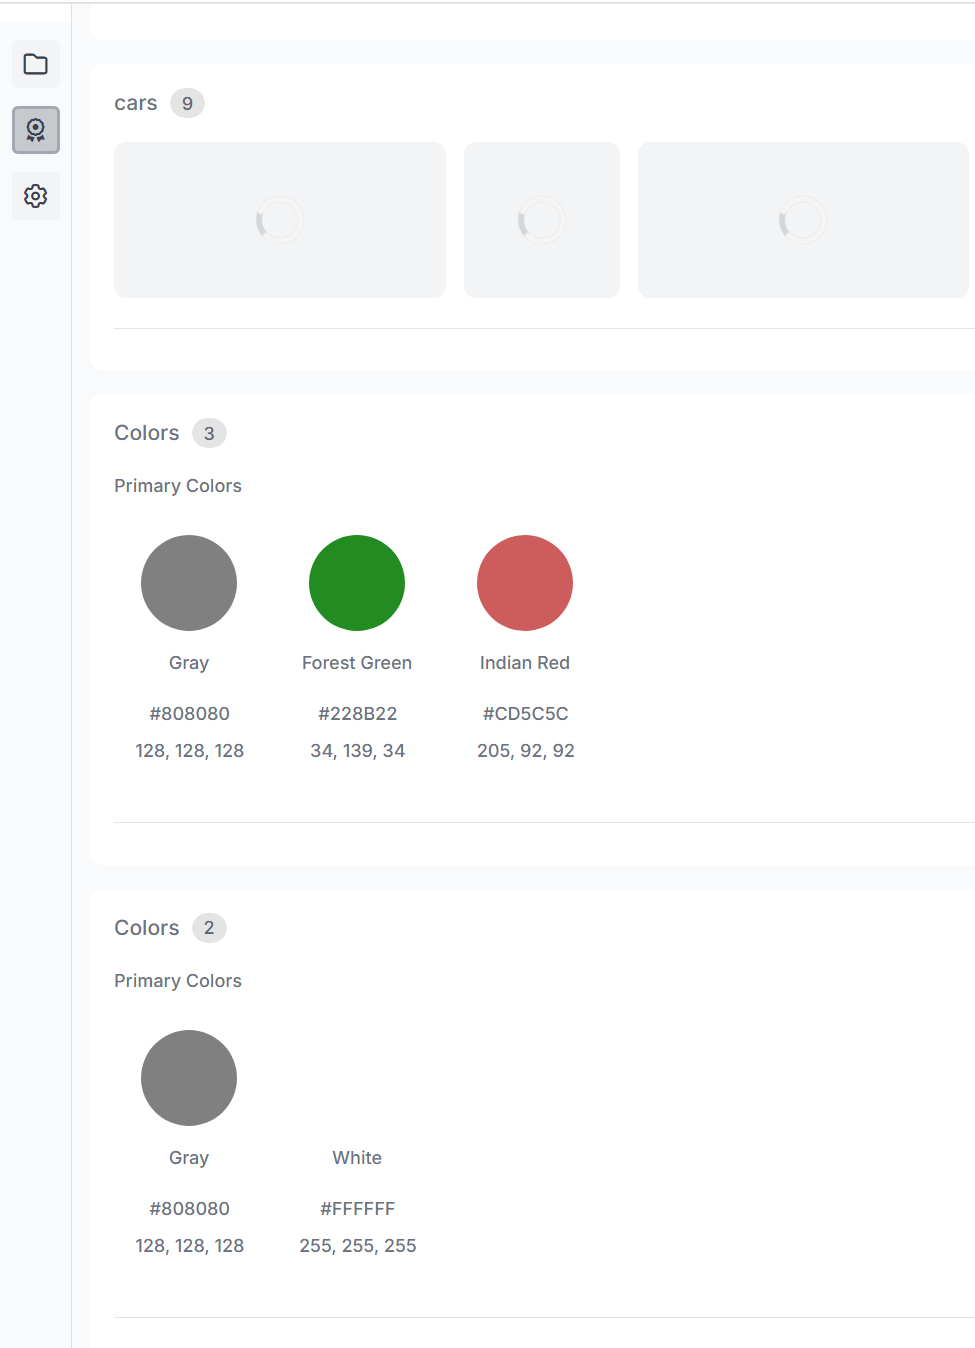
And this is how it’s going to look in the panel: