Introduction
Connecting external DAM services to Canva through the CI HUB Connector enhances your design workflow by providing seamless access to your assets. This guide walks you through the steps to add a new DAM connection in Canva, from accessing your account options to selecting and activating the desired connection.
Adding a New Connection
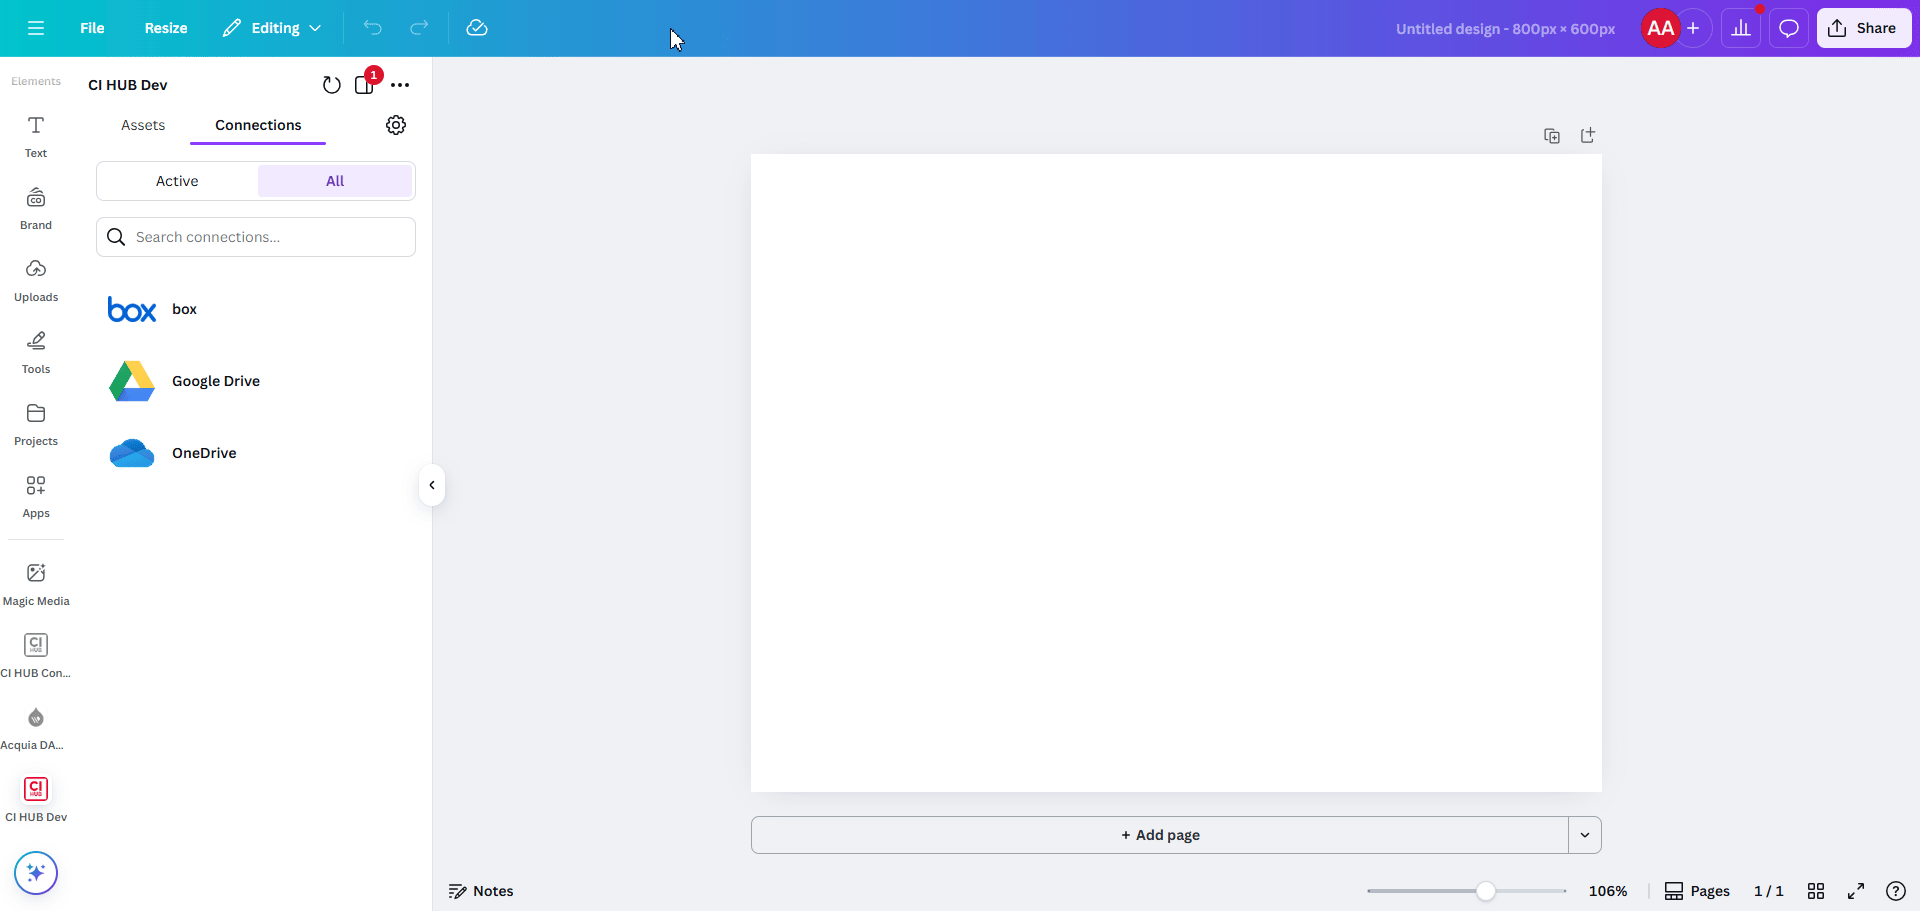
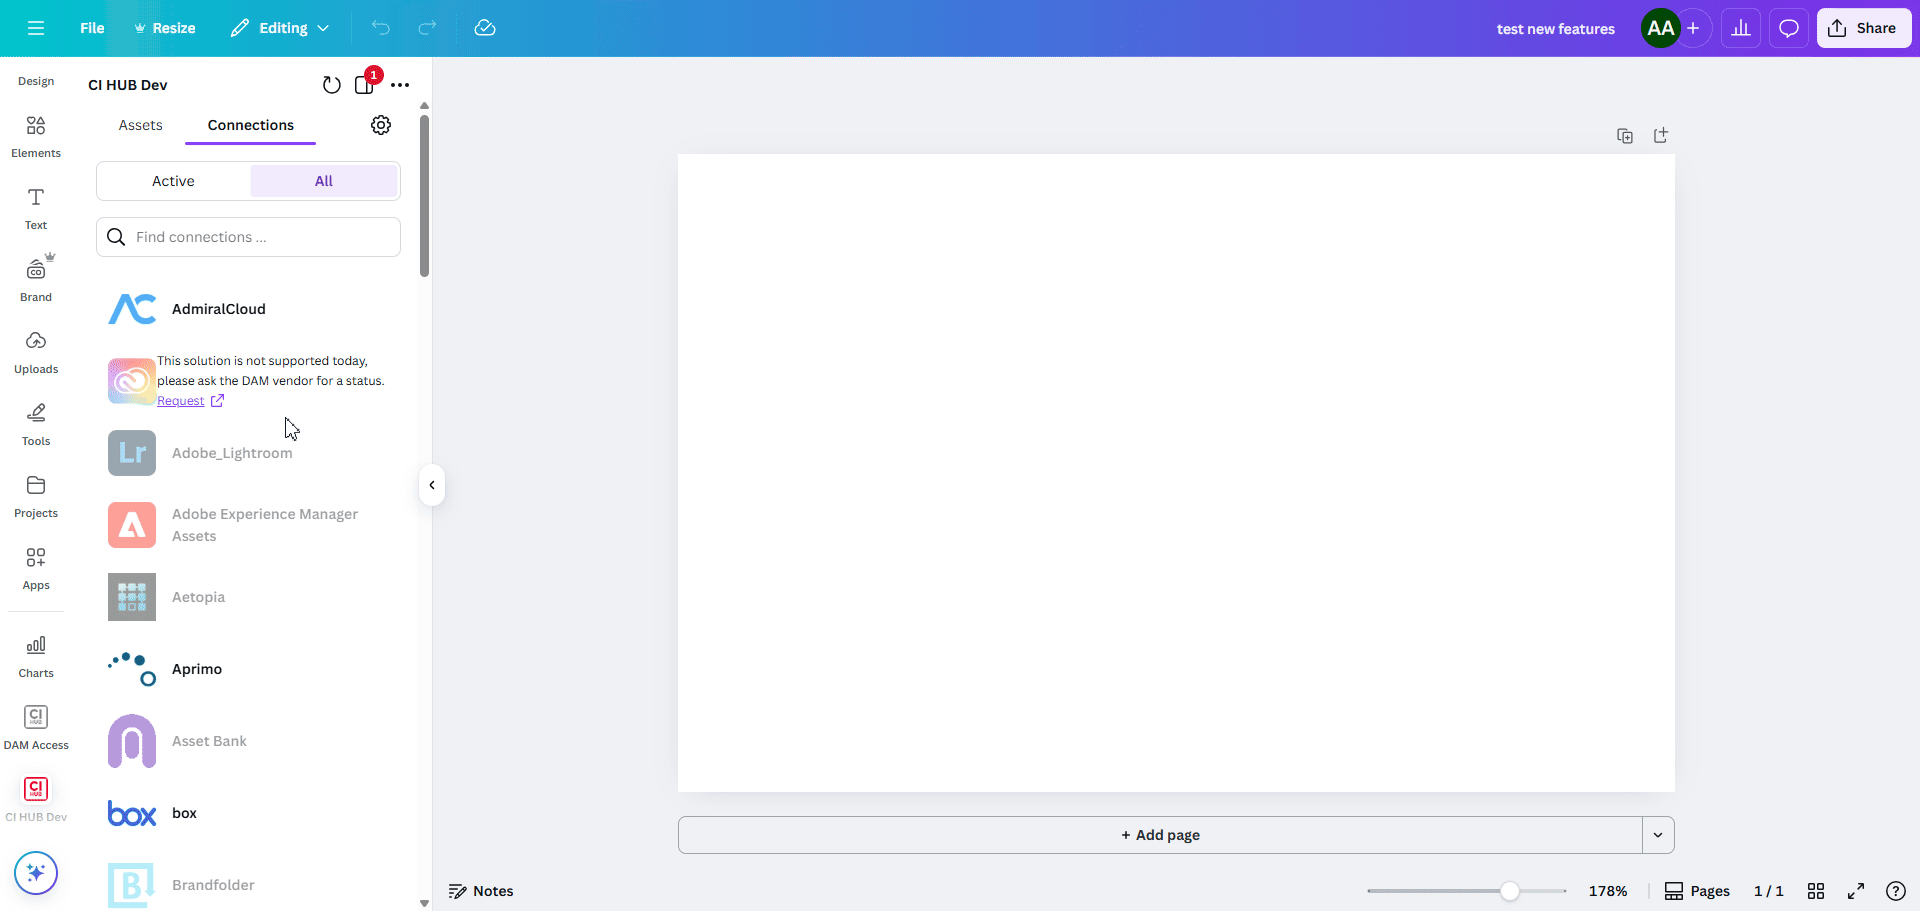
Once you are logged in through the CI HUB Connector, you will be redirected to the Connections tab, where you can find a list of available connections. You can browse the list or use the search bar to quickly find the integration you want by typing keywords. The list will dynamically update to show matching connections.
After locating the desired integration, click on it and connect using your DAM credentials. You will receive a link directing you to the login page. Click Continue to access the login interface and enter your credentials. Once completed, the integration will appear in the Active Connections section.
For integrations that are not yet supported, you can request them by clicking the provided link and filling out the form.
Accessing and Managing Your Assets
Once you've added a new integration, you can access the Assets section, where your assets are organized into folders for easy navigation. Use the search bar to quickly find specific files or resources. You can also preview your assets directly in Canva, making it simple to choose the right one for your project.
With the new integration, you can seamlessly drag and drop assets into your designs, customize them as needed, and streamline your creative workflow.