This chapter describes the installation of CI HUB Drive for Windows, the login process, and how to connect your DAM system to access assets locally.
1. Installing CI HUB Drive for Windows
To begin using CI HUB Drive on your Windows device, you must first install the application.
Step-by-step installation
- Go to the Microsoft App Store:
https://apps.microsoft.com/detail/9nwqfpn2ctmr?ocid%5C=pdpshare&hl=en-us&gl=US - Download the CI HUB Drive for Windows.
- Once the download is complete, locate the installer file on your computer.
- Double-click the installer to start the installation.
- Follow the installation steps shown on the screen to complete the setup.
After the installation is successfully completed, CI HUB Drive for Windows will automatically open on your laptop.
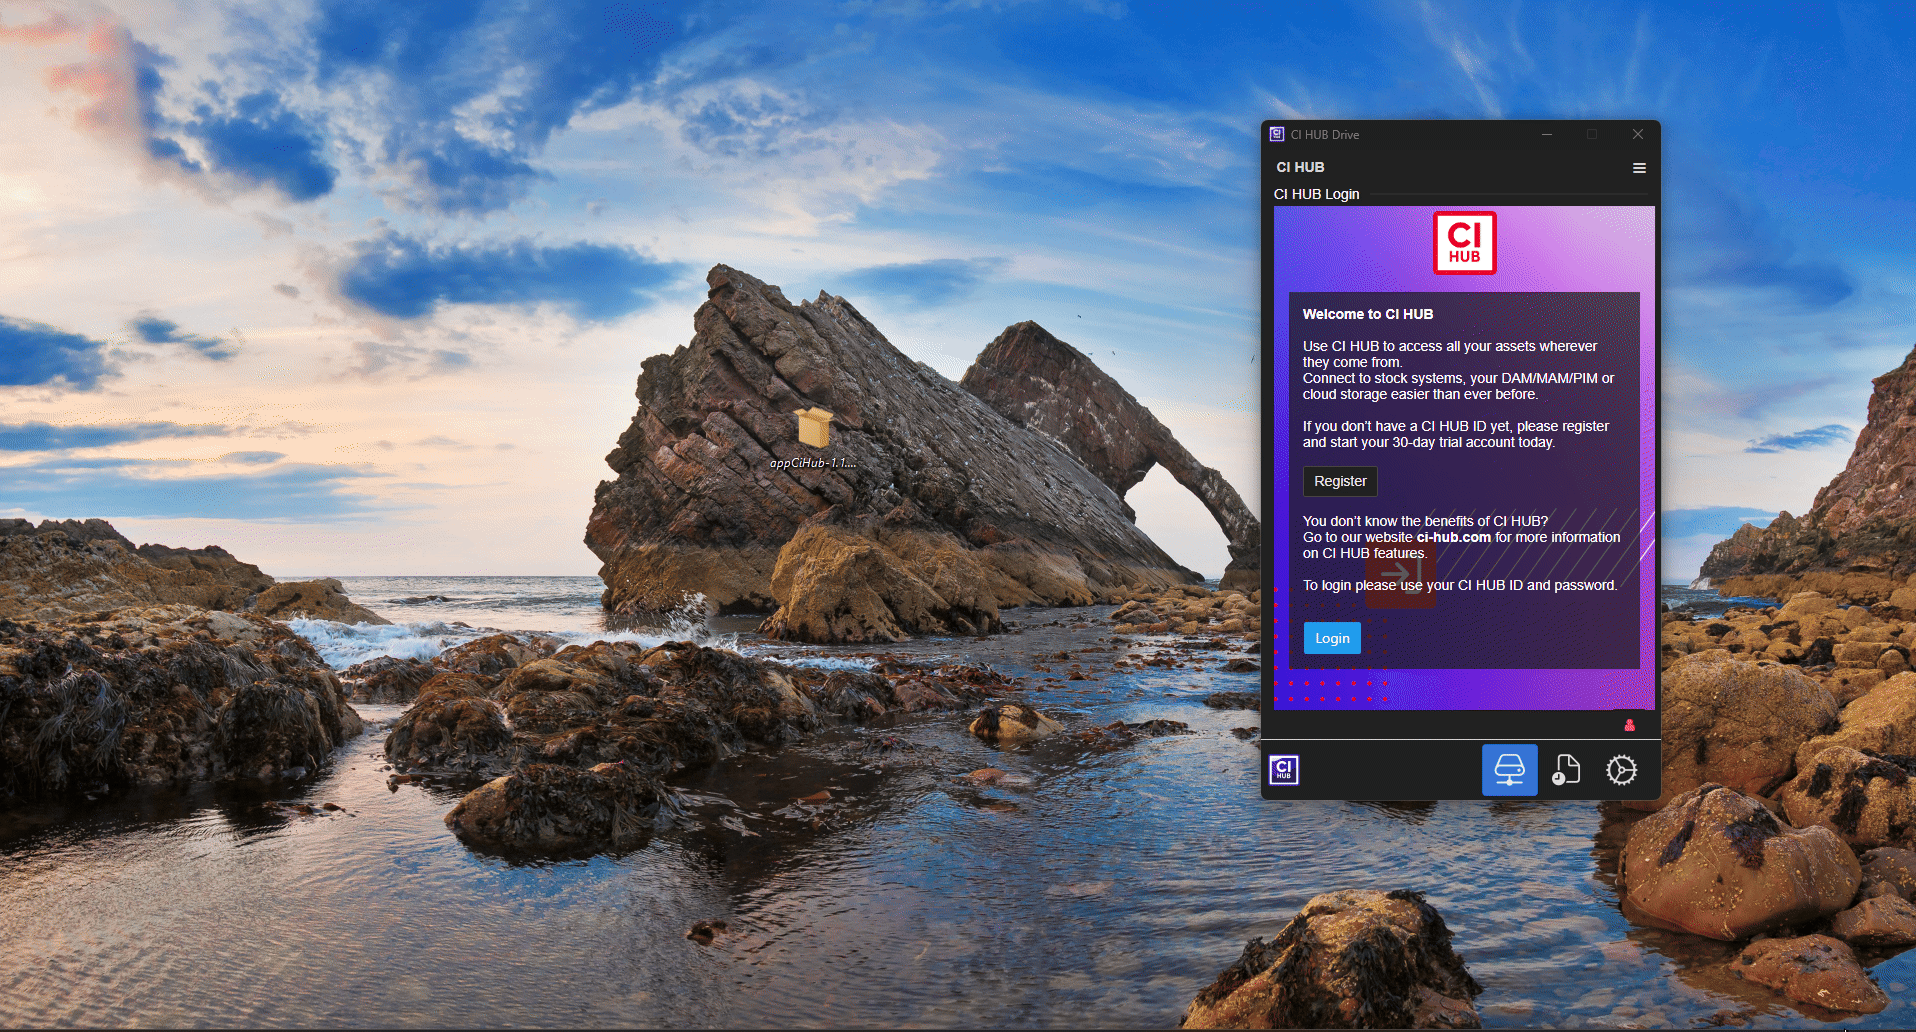
2. Logging in to CI HUB Drive
When CI HUB Drive for Windows opens, you will be prompted to authenticate your account.
You have two options:
- Log in:
- Click the Login button and enter your CI HUB ID to sign in.
- Register:
- Click the Register button to be redirected to the CI HUB website, where you can create a new CI HUB account.
After completing the authentication process successfully, CI HUB Drive will connect your account and allow you to start linking your digital systems and services.
This login step is required to access your connected platforms and to enable the integration of DAM systems and other services directly into your creative applications.
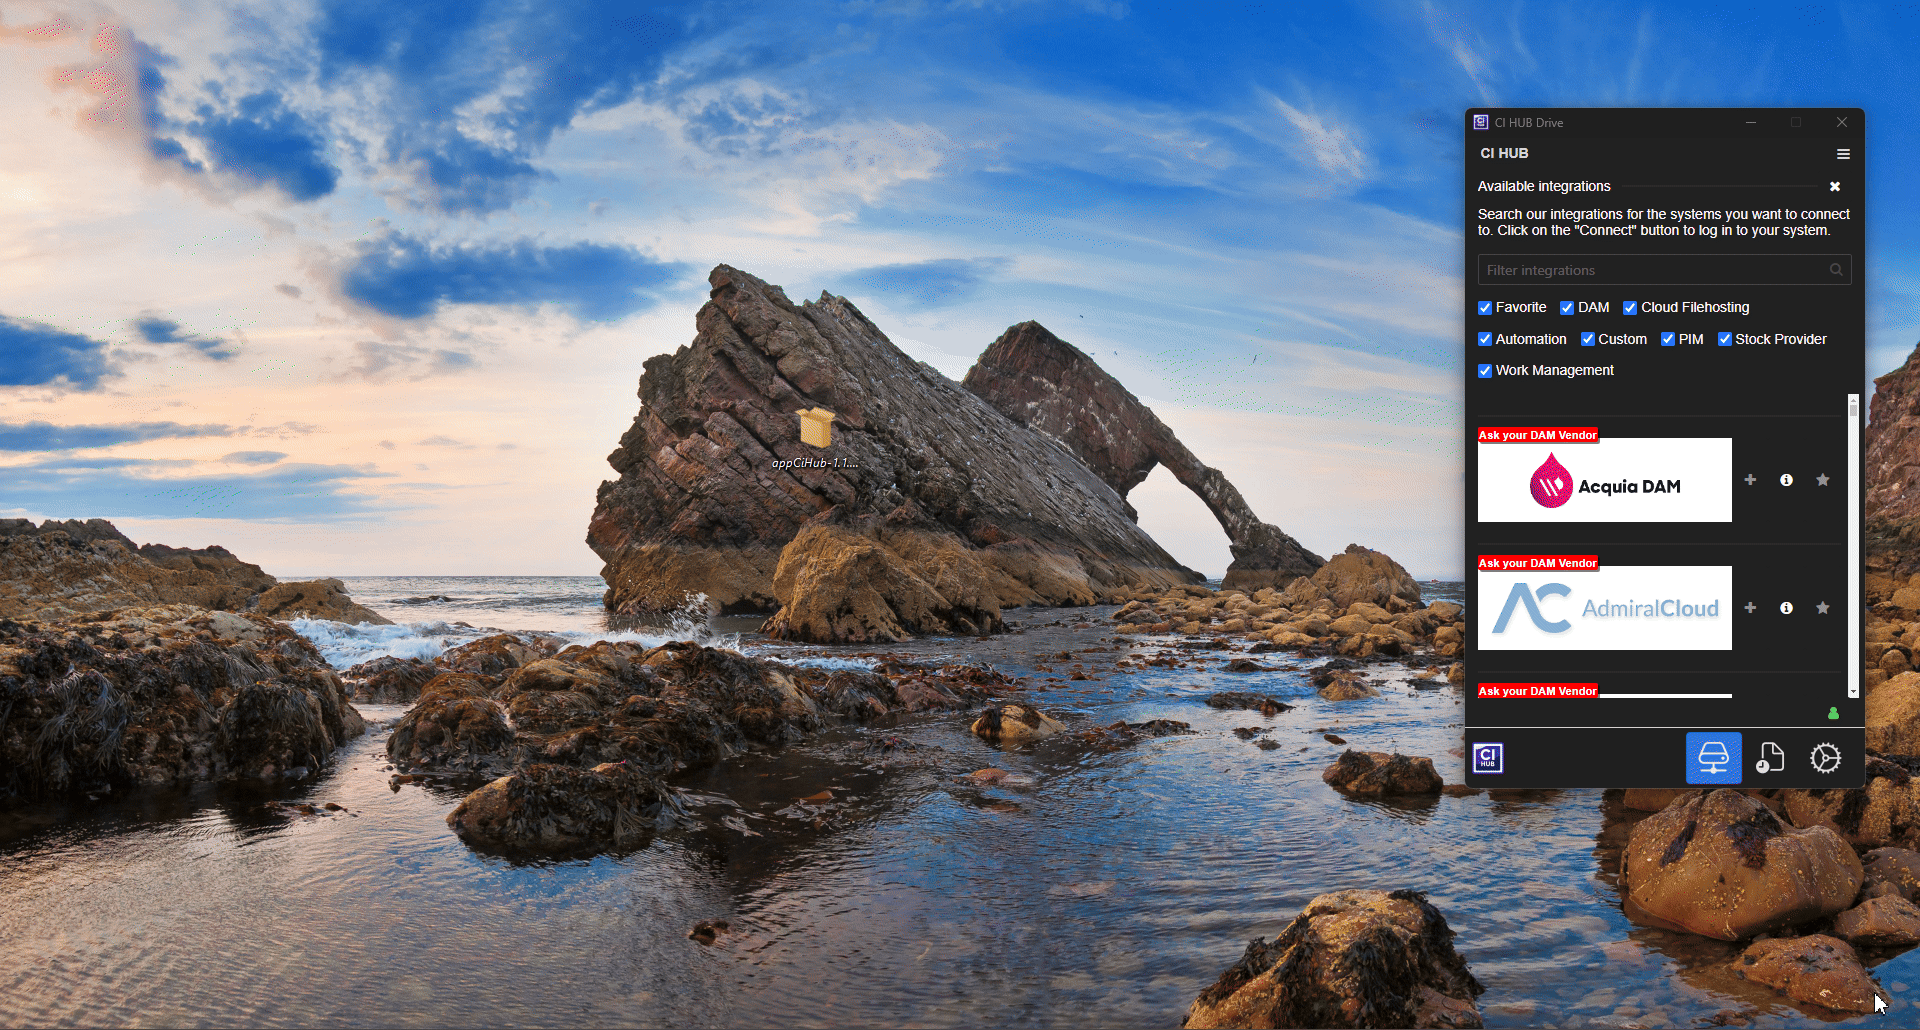
3. Connecting Your DAM System
After logging in, you can connect your Digital Asset Management (DAM) system and other available services through the CI HUB Drive panel.
Connections Tab Overview
In the Connections tab, you will find a list of all available connections supported by CI HUB Drive, including DAM systems, cloud storage services, and other content providers.
You can manage your connections using the following options:
- Browse or Search
- Browse through the list of available services or use the search bar to quickly find a specific connection.
- Use Filters
- Apply filters to narrow down the results by category, such as Digital Asset Management, Cloud Storage, or Stock Providers.
- Select and Connect
- Click Add (or the “+” icon) next to the desired connection, then log in using your personal DAM or Cloud Storage system credentials when prompted.
- Manage Connections
- You can add new connections, edit existing ones, or delete connections that are no longer needed.
- Once your connection is configured, click Complete Setup to finalize the process.
Accessing Your DAM Assets
After successfully adding your DAM system, Windows File Explorer will automatically open, displaying all folders and assets from your DAM system directly on your local device.
This allows you to browse, manage, and access your DAM content seamlessly through your Windows file system using CI HUB Drive.